Teaching Alliteration with AI
How to use generative AI to support alliteration and descriptive writing
(See example lesson plan at the bottom of this article)
(See example lesson plan at the bottom of this article)
What is generative AI?
Generative AI is a type of artificial intelligence that can create original content, such as images, music, and text.
While some types of AI analyse data to predict future outcomes (as seen in predictive text), generative AI goes a step further. It uses patterns it has learned from data to generate entirely new examples.
What is text-to-image AI?
Text-to-image AI allows you to create any image simply by using your own words to describe the picture you want to see.
What happens when you ask AI to generate an image of a well-known character from a book?
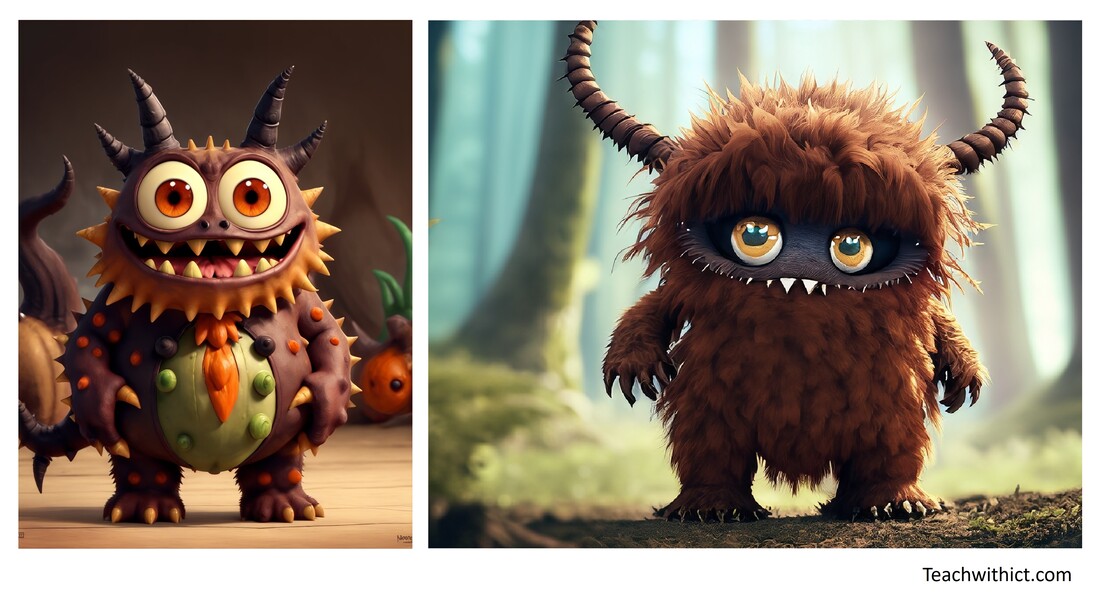
These are examples of how generative AI interprets a detailed description of the Gruffalo:
AI Gruffalo (Image on the left was created using Leonardo AI, image on the right was created with Adobe Firefly)
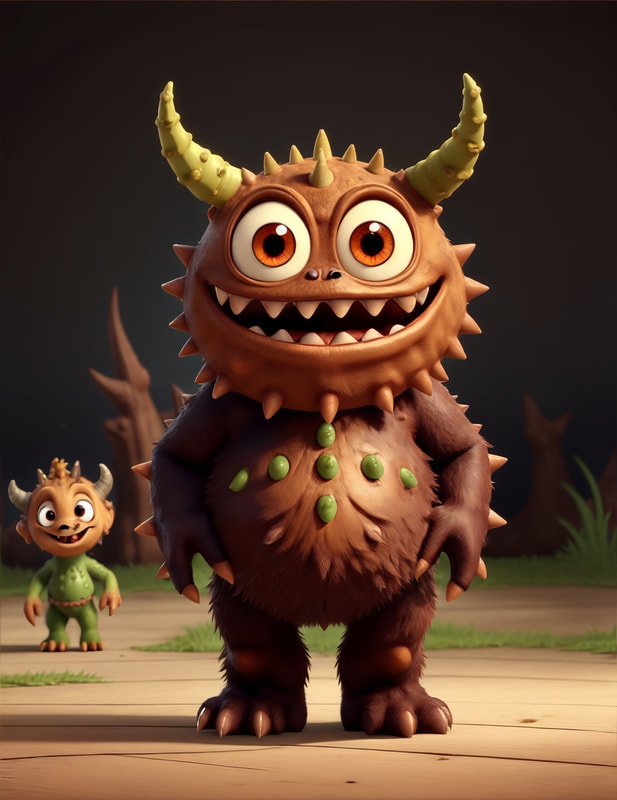
Some more examples:
How can I use this in a lesson?
So, this got me thinking about how I could use this in a lesson! I then thought, wouldn't it be cool if we could bring our students' descriptive writing (for example, a description of a monster just like the one in the Gruffalo by Julia Donaldson) to life with generative AI?
Scroll down for sample lesson plan.
How it works
What is text-to-image AI?
Text-to-image AI allows you to create any image simply by using your own words to describe the picture you want to see.
What tools can I use?
For the remainder of this tutorial, I will focus on the free tools but everything I demonstrate can easily be done with Midjourney.
Mastering the Prompt
I'm not going to lie to you, it's not quite as easy as it seems! There is an art to mastering the prompt, which I will share with you. In fact, when I first tried this, I literally copied the description of the Gruffalo straight from the book and the images it produced would give some children nightmares!
Text-to-image AI is different from searching for an image in Google or Bing. It works best when you're highly descriptive. You need to be creative and add details such as: adjectives, locations, even artistic styles such as "digital art" and "photorealistic.“
It also helps to use keywords such as 'cute' and 'fluffy'. You can also select different styles such as 'children's book illustration style' or 'Pixar 3D animation style' etc. You can also provide settings/locations for your image, for example a mystical forest.
What is text-to-image AI?
Text-to-image AI allows you to create any image simply by using your own words to describe the picture you want to see.
What tools can I use?
- Bing Image Creator | (FREE - requires a Microsoft account)
- Adobe Firefly | (FREE - requires you to sign up for a free Adobe account)
- Leonardo AI | (FREE - requires you to sign up for a free Leonardo account)
- Midjourney | (Paid for - requires a Discord account)
For the remainder of this tutorial, I will focus on the free tools but everything I demonstrate can easily be done with Midjourney.
Mastering the Prompt
I'm not going to lie to you, it's not quite as easy as it seems! There is an art to mastering the prompt, which I will share with you. In fact, when I first tried this, I literally copied the description of the Gruffalo straight from the book and the images it produced would give some children nightmares!
Text-to-image AI is different from searching for an image in Google or Bing. It works best when you're highly descriptive. You need to be creative and add details such as: adjectives, locations, even artistic styles such as "digital art" and "photorealistic.“
It also helps to use keywords such as 'cute' and 'fluffy'. You can also select different styles such as 'children's book illustration style' or 'Pixar 3D animation style' etc. You can also provide settings/locations for your image, for example a mystical forest.
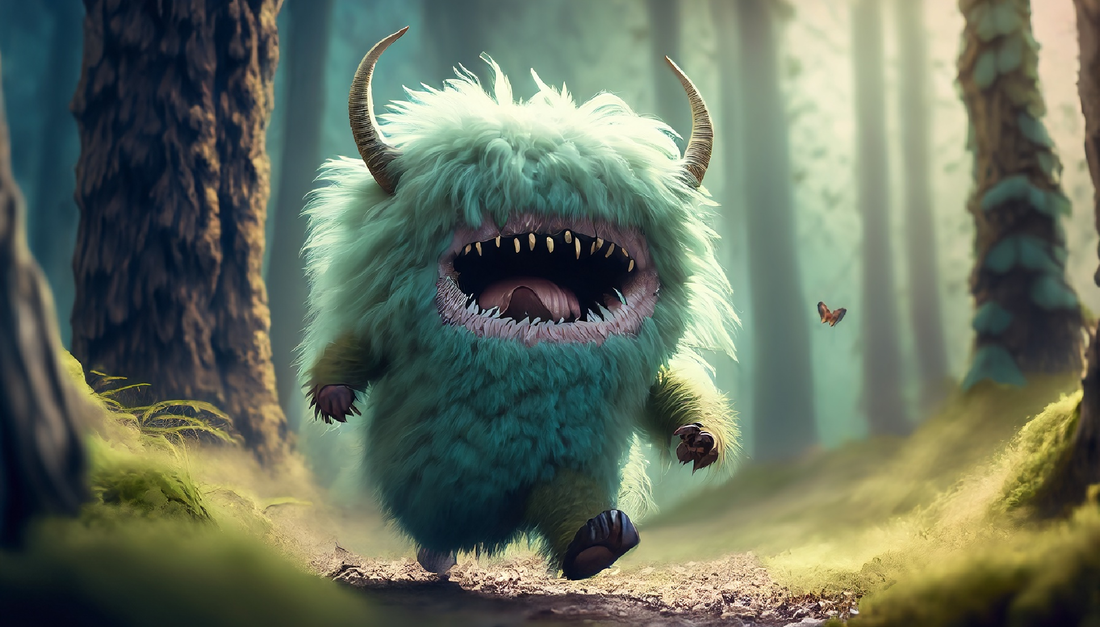
Simple example:
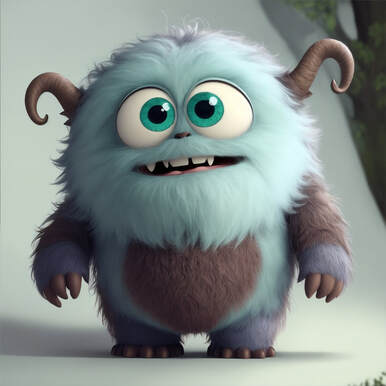
A cute fluffy monster running through a mystical forest.
Will produce something like this:
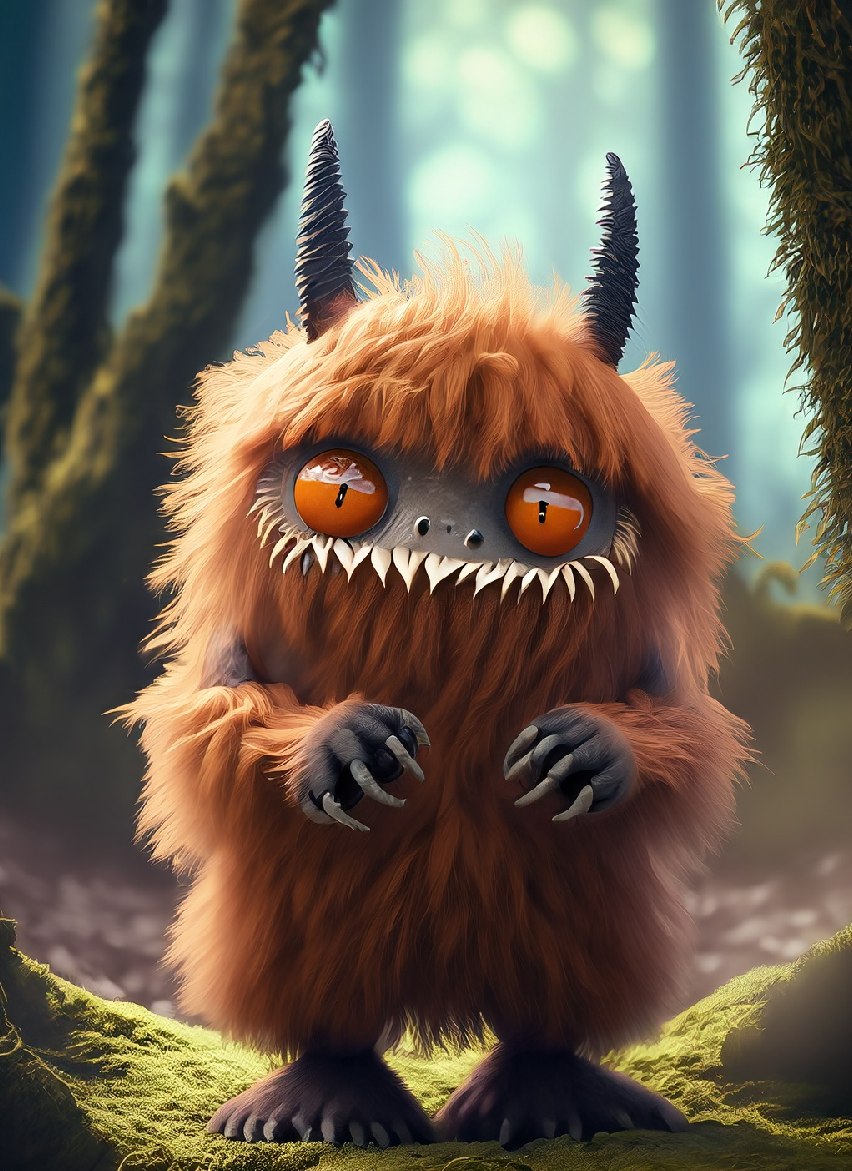
More complex prompt:
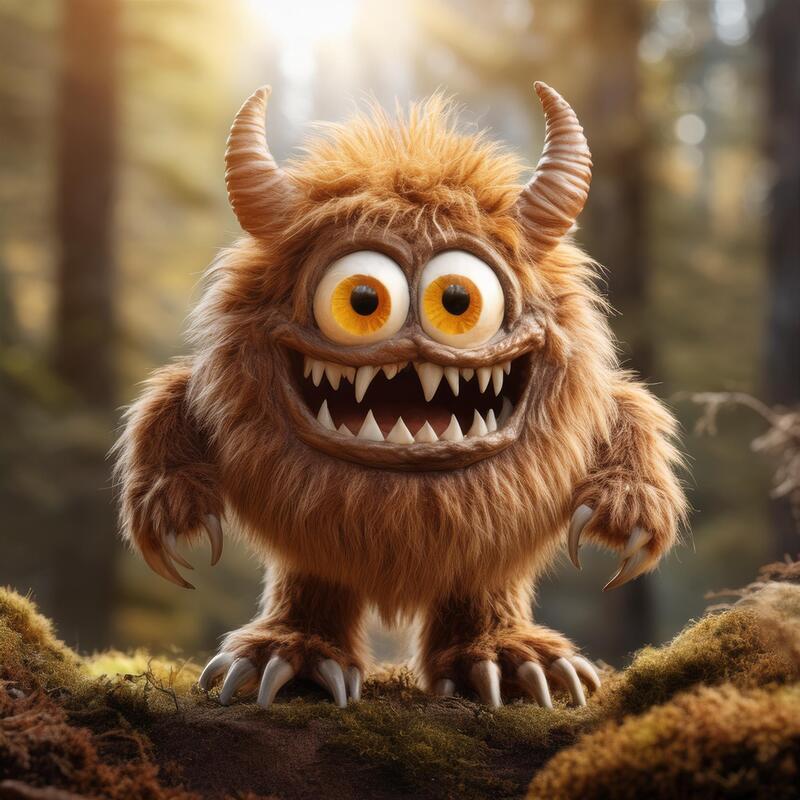
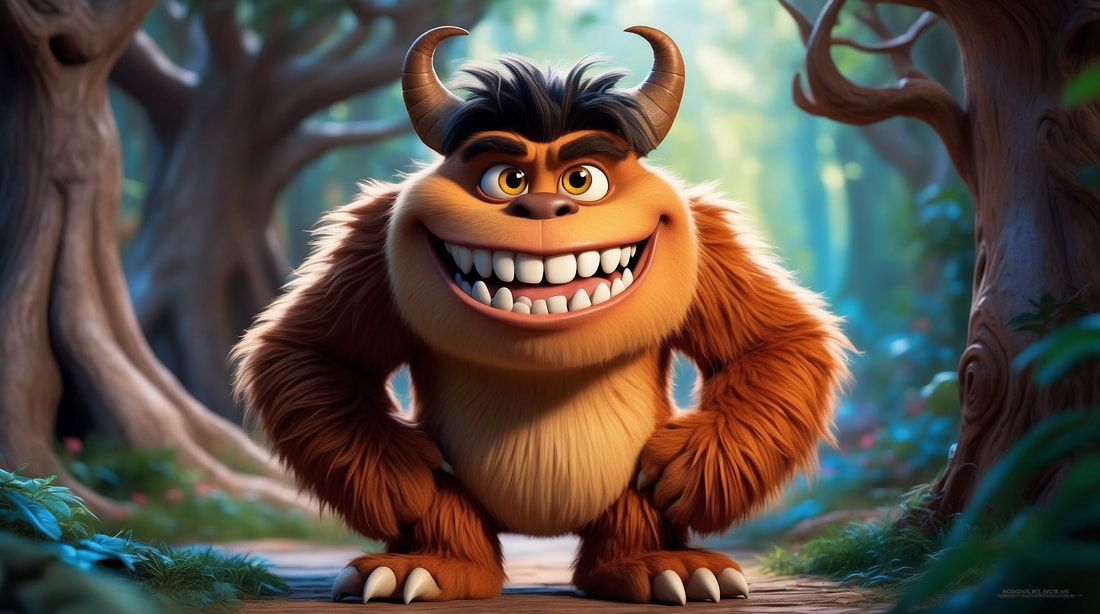
A cute fluffy monster. Brown fur, orange eyes, a red tongue, sharp teeth, and horns. Standing on two legs in a magical forest.
Will create something like this:
Free Tools
1. Adobe Firefly (Beta)
Adobe Firefly | (FREE - requires you to sign up for a free Adobe account)
One of my favourite tools for this type of activity is Adobe Firefly. The reason I prefer this tool is because you have lots of control over the final image. Firstly, if you don't like the results, you can simply click on 'Generate' agan. You can also try different styles, for example photo or digital art, and can even change the lighting and tone.
Adobe Firefly text-to-image interface.
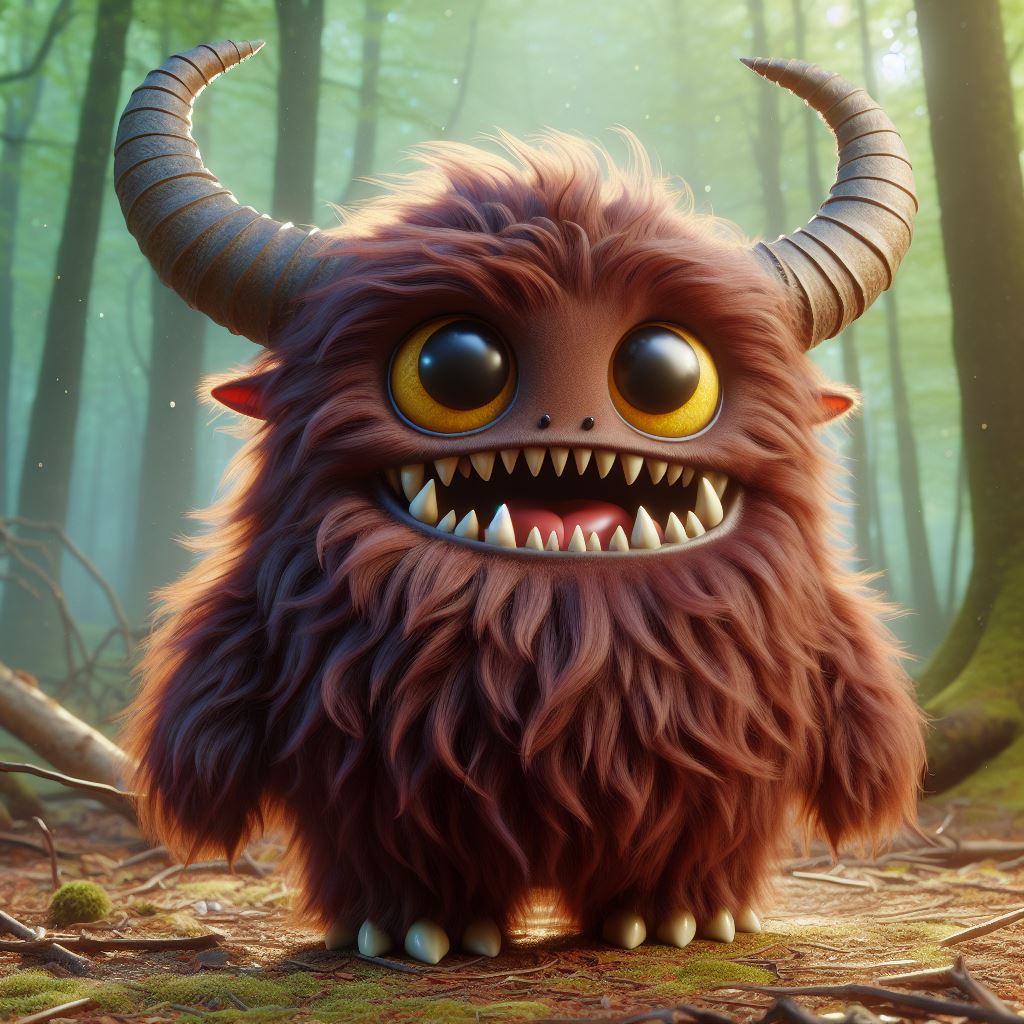
A cute fluffy brown monster (created using Adobe Firefly)
Prompt: Cute brown furry monster with sharp teeth, yellow eyes and horns. The monster is standing on two legs in a magical forest. Photorealistic
Prompt: Cute brown furry monster with sharp teeth, yellow eyes and horns. The monster is standing on two legs in a magical forest. Photorealistic
2. Bing Image Creator
Bing Image Creator | (FREE - requires a Microsoft account)
Another favourite of mine is Bing Image Creator, although I do find that it's not always as consistent as some of the other free tools!
Bing Image Creator | (FREE - requires a Microsoft account)
Another favourite of mine is Bing Image Creator, although I do find that it's not always as consistent as some of the other free tools!
Bing Image Creator text-to-image interface.
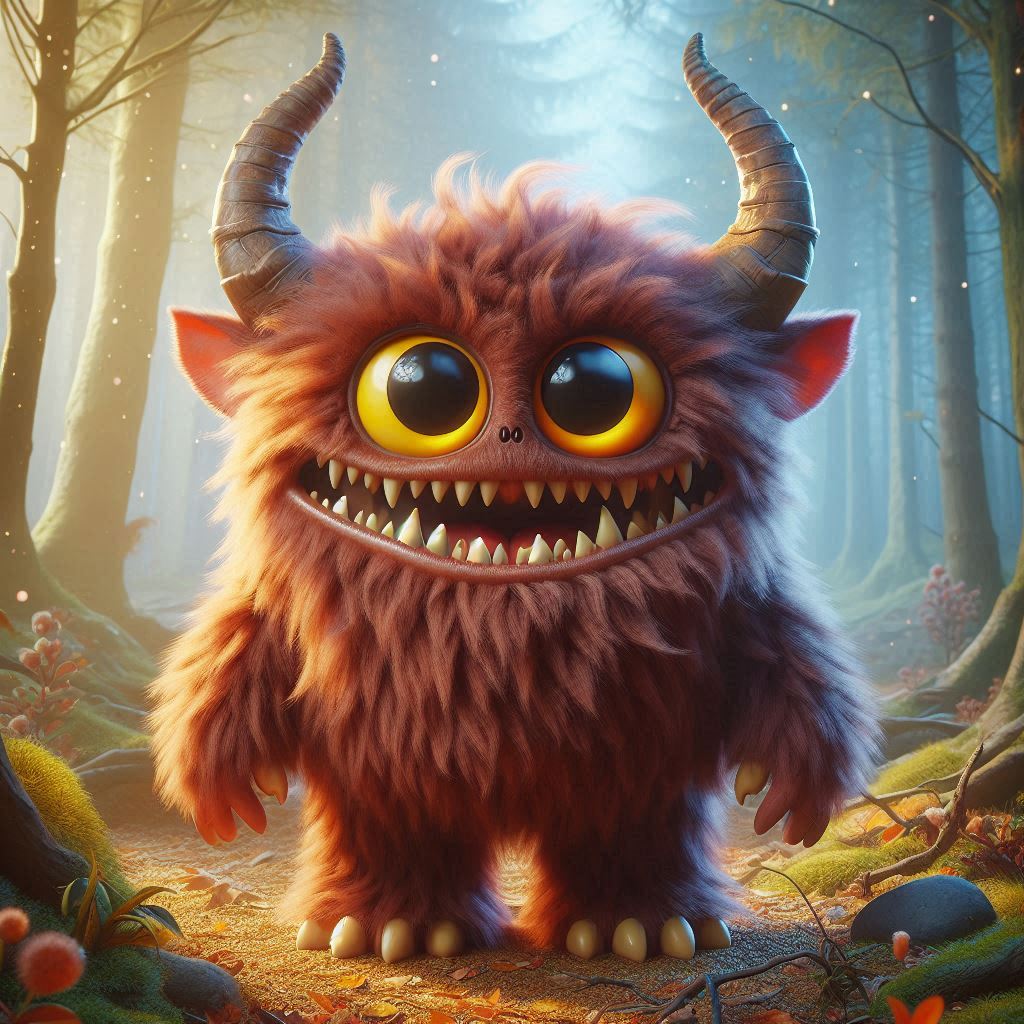
Cute furry monster (Created with Bing Image Creator)
Prompt: Create an image of a cute brown furry monster with sharp teeth, yellow eyes and horns. The monster is standing on two legs in a magical forest. Photorealistic
Prompt: Create an image of a cute brown furry monster with sharp teeth, yellow eyes and horns. The monster is standing on two legs in a magical forest. Photorealistic
3. Leonardo AI
Leonardo AI | (FREE - requires you to sign up for a free Leonardo account)
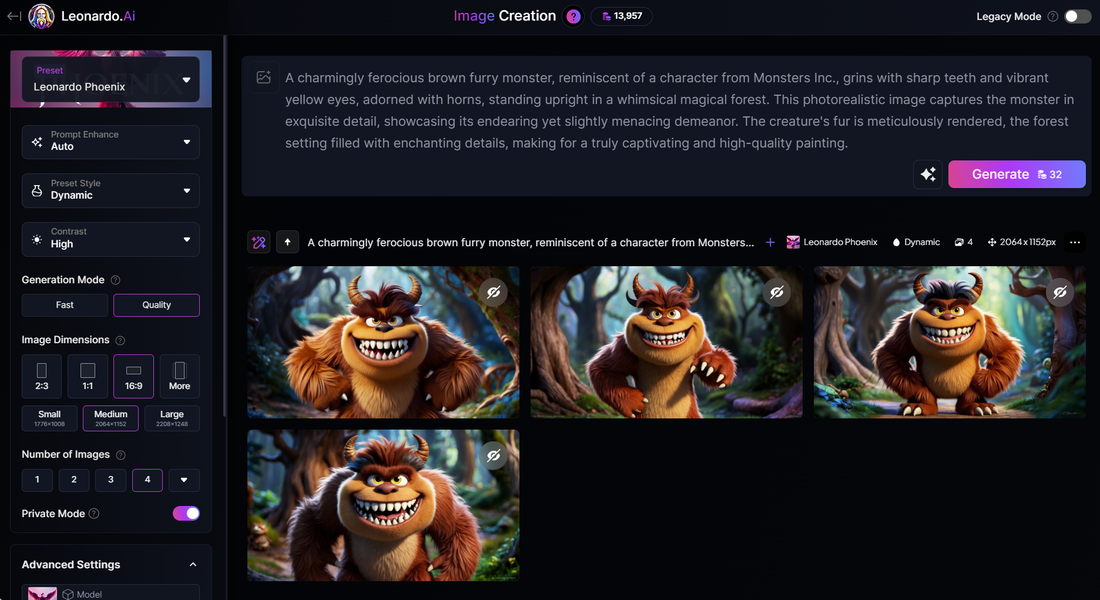
Last, but not least, is Leonardo AI. Leonardo is one of my 'go to tools', but does take some getting used to. I personally like Leonardo because you have more control over the output, such as being able to choose from a huge selection of pre-trained models (my favourites being 3D Animation Style, Little Monsters and DreamShaper v7). One downside to having all this control is the compromise on intuitiveness. For this reason, I would recommend Bing or Adobe (Also, the free version of Leonardo limits you to 150 credits a day - each prompt uses between 2 and 32 credits, depending on what features you choose). But, once you've mastered the controls, the results can be phenomenal.
Leonardo AI text-to-image interface.
Cute furry monster (Created with Leonardo AI)
Prompt: A charmingly ferocious brown furry monster, reminiscent of a character from Monsters Inc., grins with sharp teeth and vibrant yellow eyes, adorned with horns, standing upright in a whimsical magical forest. This photorealistic image captures the monster in exquisite detail, showcasing its endearing yet slightly menacing demeanor. The creature's fur is meticulously rendered, the forest setting filled with enchanting details.
Prompt: A charmingly ferocious brown furry monster, reminiscent of a character from Monsters Inc., grins with sharp teeth and vibrant yellow eyes, adorned with horns, standing upright in a whimsical magical forest. This photorealistic image captures the monster in exquisite detail, showcasing its endearing yet slightly menacing demeanor. The creature's fur is meticulously rendered, the forest setting filled with enchanting details.
A note on Midjourney
For those in the know, you might be asking "So, why have you not mentioned Midjourney?". Midjourney is by far my favourite text-to-image tool and by far outshines the other text-to-image tools with regards to image quality. The reason I have left it out of this tutorial is simply due to it's cost (at time of writing, Midjourney no longer offers a free trial) and the fact that you have to have a Discord account (which isn't the most intuitive / user-friendly tool) in order to use it. However, if you already have a Midjourney account, or if you are curious as to what it can do, here is an example:
For those in the know, you might be asking "So, why have you not mentioned Midjourney?". Midjourney is by far my favourite text-to-image tool and by far outshines the other text-to-image tools with regards to image quality. The reason I have left it out of this tutorial is simply due to it's cost (at time of writing, Midjourney no longer offers a free trial) and the fact that you have to have a Discord account (which isn't the most intuitive / user-friendly tool) in order to use it. However, if you already have a Midjourney account, or if you are curious as to what it can do, here is an example:
A cute furry monster, Monsters Inc. style (Created using Midjourney)
Example lesson plan
Disclaimer: This lesson was generated using AI!
Prompt used for this lesson plan:
Disclaimer: This lesson was generated using AI!
Prompt used for this lesson plan:
Design a detailed lesson plan for a year 6 literacy activity focusing on alliteration using text from the Gruffalo, aligned with the National curriculum in England: primary curriculum (upper key stage 2). Please structure the lesson into distinct segments: a 10-minute warm-up activity to introduce the topic, a 10-minute engaging lecture with interactive elements, a 30-minute hands-on activity to reinforce learning, and a 10-minute formative assessment to gauge student understanding. Include in your plan: specific learning objectives, materials needed for each segment, strategies for student engagement, and clear assessment criteria based on the learning objectives. ensure the lesson is designed to be completed within a standard class period of 60 minutes.
Follow up prompt. Remember, ChatGPT/Microsoft Copilot are conversational AI chatbots, use follow up questions to improve your results. For example:
Thank you! This is very helpful. Please adapt the lesson as follows:
Main Activity: Students write their own descriptions of Gruffalo-like monsters, incorporating alliterations to enhance their creativity and language skills.
Final activity: At the end of the lesson, ask students to share their descriptions with the class. The teacher will then select their favourite descriptions and, using Microsoft Copilot, will generate images based on the selected descriptions, bringing the students’ imaginative monsters to life.
Year 6 Literacy Lesson Plan: Alliteration with “The Gruffalo”
Learning Objectives:
Materials Needed:
Lesson Structure:
1. Warm-Up Activity (10 minutes)
Objective: Introduce the concept of alliteration.
Activity:
Materials: Whiteboard, markers.
Engagement Strategy: Encourage students to share their phrases with the class, fostering a fun and inclusive environment.
2. Introduction (10 minutes)
Objective: Deepen understanding of alliteration through examples from “The Gruffalo.”
Activity:
Materials: Copies of “The Gruffalo,” whiteboard, markers.
Engagement Strategy: Use a visual aid (e.g., underlining alliterative words on the board) to keep students engaged.
3. Main Activity (30 minutes)
Objective: Enhance creativity and language skills by writing descriptions using alliteration.
Activity:
Materials: Chart paper, markers, worksheets with excerpts from “The Gruffalo.”
Engagement Strategy: Encourage creativity and collaboration. Provide positive feedback and support.
4. Final Activity (10 minutes)
Objective: Share and visualize students’ creative work.
Activity:
Materials: Computer with Microsoft Copilot access.
Engagement Strategy: Celebrate students’ creativity by showcasing their work visually. Provide positive reinforcement and encourage peer feedback.
Conclusion: Wrap up the lesson by summarising the key points about alliteration and praising students for their participation and creativity. Encourage them to look for examples of alliteration in their everyday reading.
This adapted lesson plan aligns with the National Curriculum in England for upper key stage 2, focusing on developing students’ understanding and use of literary devices such as alliteration.
Learning Objectives:
- Define alliteration.
- Identify examples of alliteration in “The Gruffalo.”
- Create original descriptions using alliteration.
Materials Needed:
- Copies of “The Gruffalo” by Julia Donaldson.
- Whiteboard and markers.
- Chart paper and markers.
- Worksheets with excerpts from “The Gruffalo.”
- Pencils and erasers.
- Computer with Microsoft Copilot access.
Lesson Structure:
1. Warm-Up Activity (10 minutes)
Objective: Introduce the concept of alliteration.
Activity:
- Introduction: Briefly explain alliteration as the repetition of the same initial consonant sounds in a series of words.
- Interactive Game: Play a quick game where students come up with alliterative phrases using their names (e.g., “Silly Sam,” “Jumping Jack”).
Materials: Whiteboard, markers.
Engagement Strategy: Encourage students to share their phrases with the class, fostering a fun and inclusive environment.
2. Introduction (10 minutes)
Objective: Deepen understanding of alliteration through examples from “The Gruffalo.”
Activity:
- Read Aloud: Read a selected passage from “The Gruffalo” that contains alliteration.
- Discussion: Highlight and discuss the alliterative phrases in the passage.
- Interactive Element: Ask students to identify additional examples of alliteration in the text.
Materials: Copies of “The Gruffalo,” whiteboard, markers.
Engagement Strategy: Use a visual aid (e.g., underlining alliterative words on the board) to keep students engaged.
3. Main Activity (30 minutes)
Objective: Enhance creativity and language skills by writing descriptions using alliteration.
Activity:
- Creative Writing: Students write their own descriptions of Gruffalo-like monsters, incorporating alliterations.
- Group Work: Students can work individually or in pairs (think-pair-share) to brainstorm and write their descriptions.
Materials: Chart paper, markers, worksheets with excerpts from “The Gruffalo.”
Engagement Strategy: Encourage creativity and collaboration. Provide positive feedback and support.
4. Final Activity (10 minutes)
Objective: Share and visualize students’ creative work.
Activity:
- Sharing: Students share their descriptions with the class.
- Selection: The teacher selects their favourite descriptions.
- Image Generation: Using Microsoft Copilot, the teacher generates images based on the selected descriptions, bringing the students’ imaginative monsters to life.
Materials: Computer with Microsoft Copilot access.
Engagement Strategy: Celebrate students’ creativity by showcasing their work visually. Provide positive reinforcement and encourage peer feedback.
Conclusion: Wrap up the lesson by summarising the key points about alliteration and praising students for their participation and creativity. Encourage them to look for examples of alliteration in their everyday reading.
This adapted lesson plan aligns with the National Curriculum in England for upper key stage 2, focusing on developing students’ understanding and use of literary devices such as alliteration.

